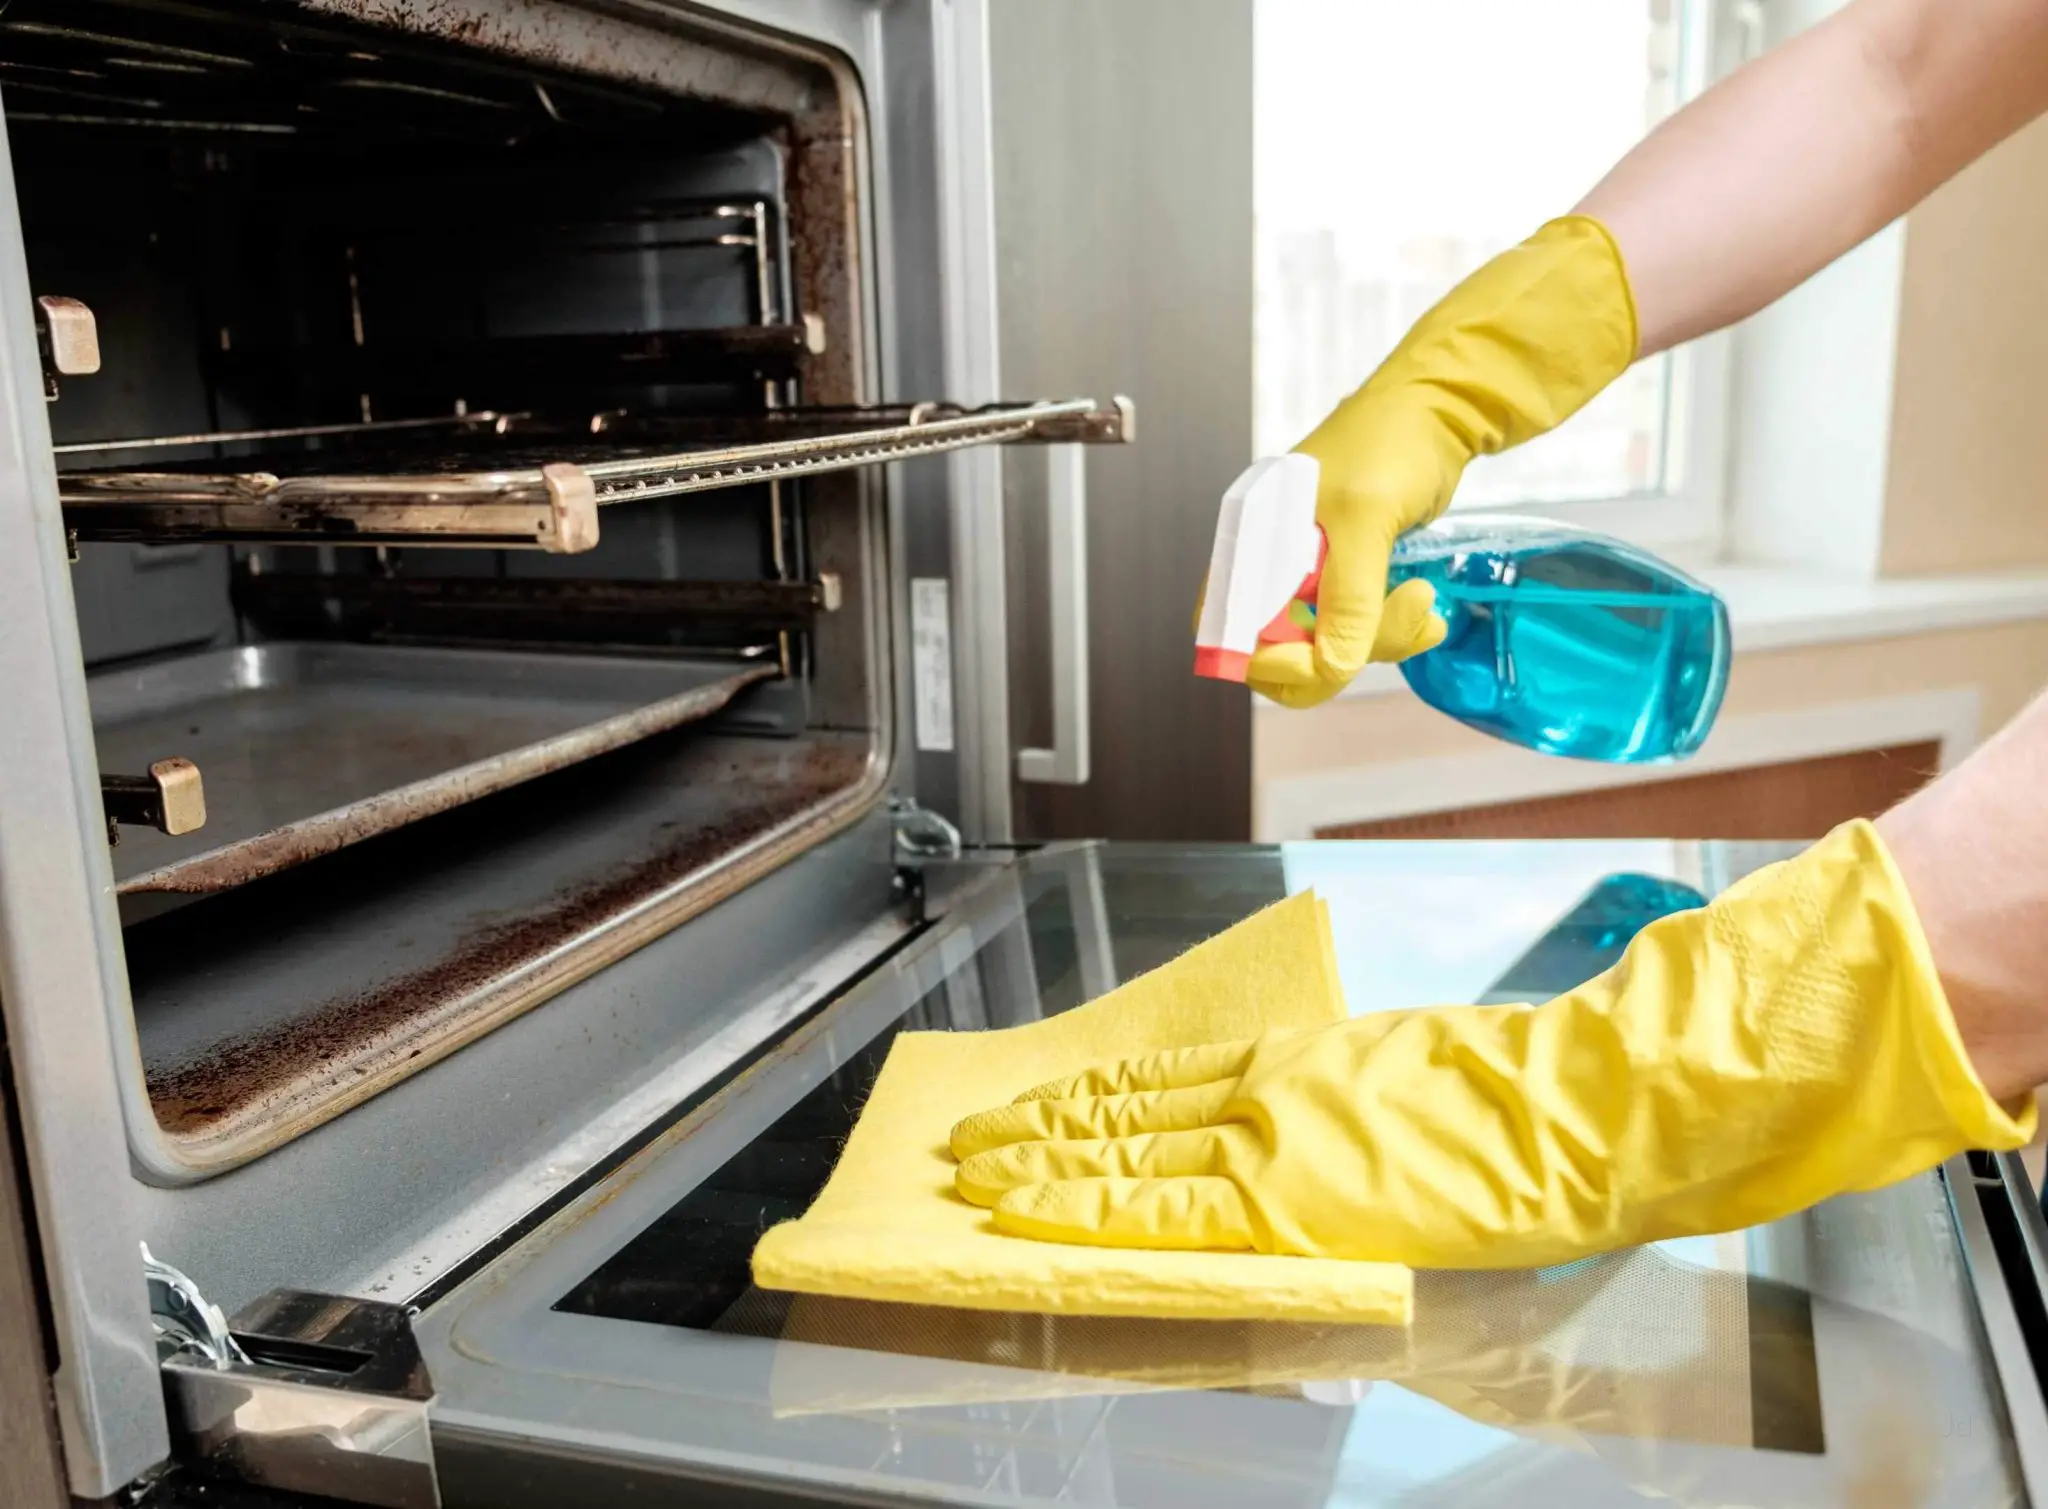
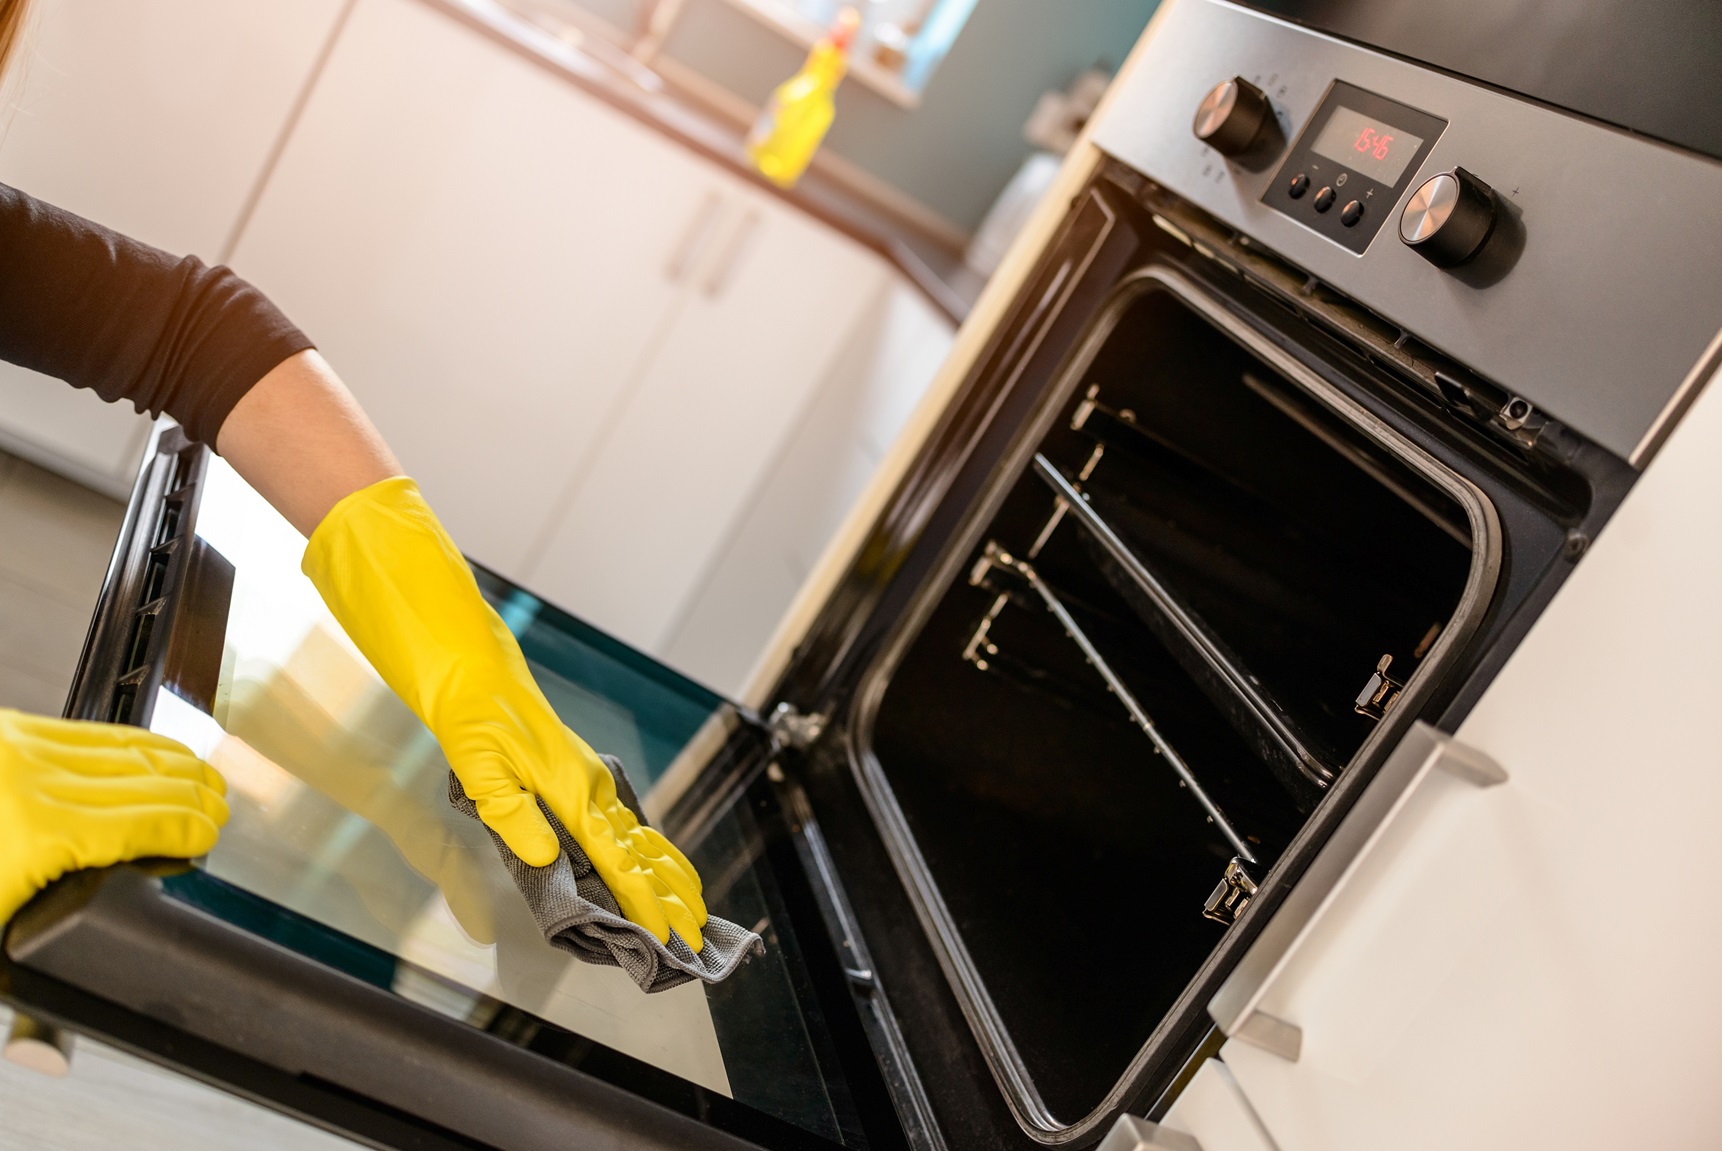
Want to know how to clean an oven? Then, you are at the right page. Read this article to know!
Cleaning an oven is an important household chore that ensures your appliance works effectively and maintains optimal performance. As time passes by, the oven accumulates dust, grime, and grease which is not good for the food which you are going to heat.
In this article, we will tell you the step by step process to clean an oven. So, read this article till the end to know.
Also Read:- Oven cleaner vs BBQ cleaner
How Frequently Should Your Oven Be Cleaned?

Source: kitchencookwarereviews.com
How frequently do you use your oven? If you use your oven more frequently, more splatters will build up in the oven. A frequent baker should try to thoroughly clean the oven once every 3 months.
Cleaning every 6 months or even once a year can be effective for someone who doesn’t cook frequently.
If there is ever a lot of residue in the oven or if something drips to the bottom of the oven during cooking, clean up the mess as soon as the oven has cooled. Otherwise, the residue will continue to bake and smoke each time the oven is turned on.
The basic oven maintenance cleaning advice is to wipe down the interior once a month with moist cloth, hot water and dish soap to prevent buildup of dirt.
If you are interested in reading about more such comprehensive guides, be sure to read our blog post on:- Easy-off Grill Cleaner vs Oven Cleaner .
Step By Step Process of Cleaning an Oven

Source: ovenclean.com
You will probably want your oven to remain spotless for as long as possible once you have thoroughly cleaned it. Let’s take a look at effective steps to clean an oven:-
1. Gather Necessary Supplies
To clean your oven effectively, gather these supplies:-
- Oven Cleaner
- Baking Soda
- Vinegar
- Water
- Dish Soap
- Spray Bottle
- Cleaning clothes
- Plastic or silicone spatula
- Old toothbrush
2. Take the Oven Racks Out
Remove racks of your oven, preferably placing them on some old newspapers, and set them away. You do not want to contaminate your kitchen floor with the muck. Make sure to take out any other items from the oven.
3. Create the Paste of Baking Soda
Mix equal parts baking soda and water to form a spreadable paste for your home-made cleanser. In case of extra, begin with a half cup of each ingredient and double the recipe. Make enough baking soda paste to completely coat the internal surface of the oven since you will be coating the entire interior with it.
4. Placing the Cleaning Paste
Spread the baking soda paste evenly over the interior of the oven. You might want to wear rubber gloves to protect your hands from the grime, which will go under your fingernails if you don’t wear gloves; the process is fairly dirty.
As you apply the paste, keep your distance from any heating elements. Don’t worry if the paste is thicker in some places, and make sure to cover any especially oily areas. As soon as the paste touches the grease, it starts to turn brown.
5. Wait for 1 day
Let the baking soda paste lie inside the oven for at least 1 day after covering the entire inside with it.
6. Handle Dirty Oven Racks
The best approach to clean oven racks is to soak them for at least two hours in hot water.
7. Wipe Off the paste of Baking Soda Using a Cloth
Use a moist towel to remove the baking soda paste and oven residue from the interior of the oven after 1 day. When dealing with specifically difficult locations, a spatula or scraper could be needed.
Gently remove the residue to avoid scratching the surface. Scouring pads should be avoided since they may harm the oven.
8. Spraying the Oven With Vinegar
Fill a disposable spray bottle with white vinegar, then mist the interior of the oven with it. A great cleaning agent is white vinegar. Any leftover baking soda paste will bubble up as a result, releasing any further stuck pieces.
Conclusion
Regularly cleaning your oven is a simple yet crucial task that enhances your cooking experience and prolongs the life of your appliance. By following the step-by-step process outlined in this article, you can keep your oven in top shape, ensuring delicious and perfectly cooked meals for years to come.


